Export checklist - Creating new
For Admin users who have access to managing Export checklists, please follow the steps below to create a new Export checklist.
Instructions
- 1
-
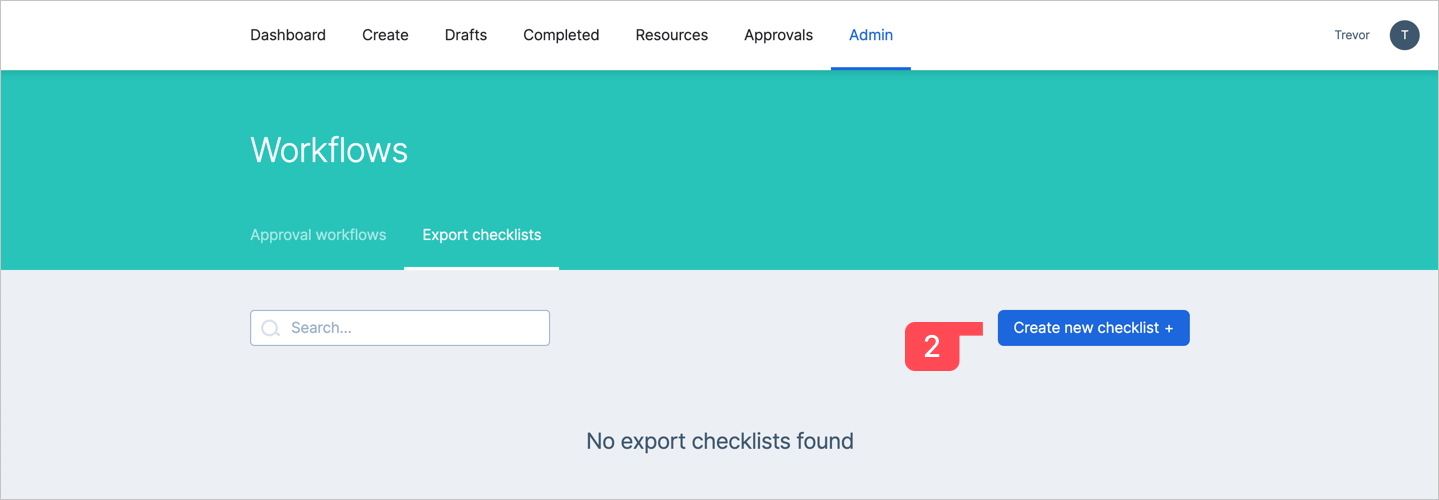
Access Export checklists by clicking 'Admin' > 'Workflows' and select the 'Export checklists' tab
- 2
-
Click 'Create new checklist' button
- 3
-
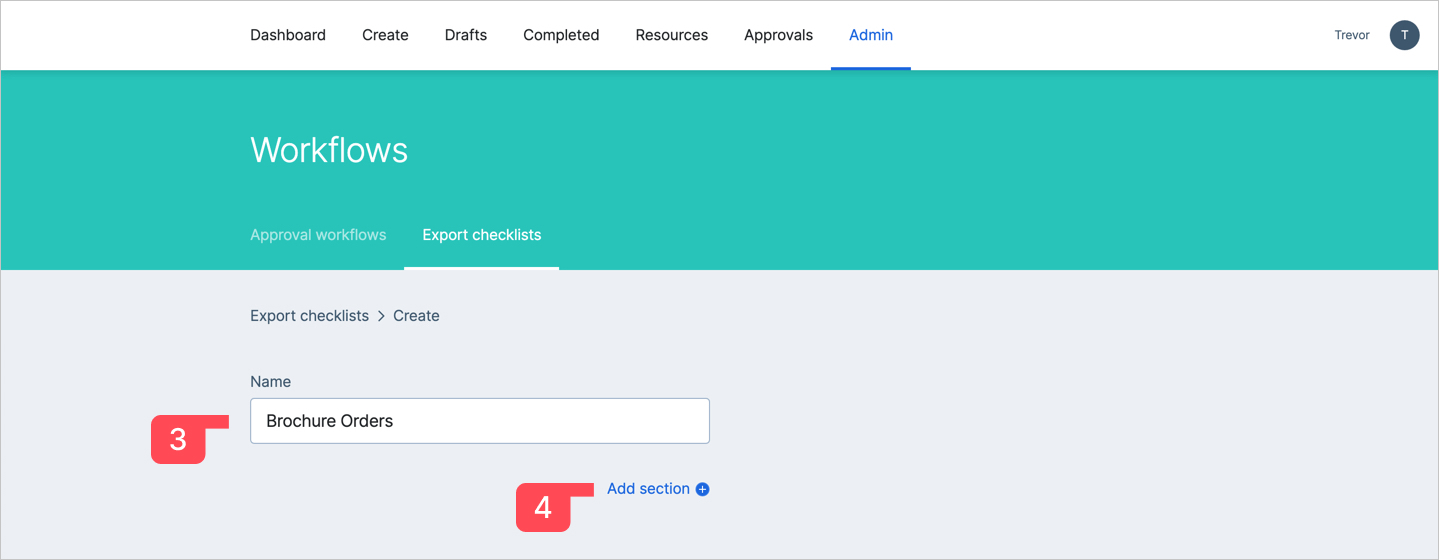
Give the checklist a name
- 4
-
Add a Section by clicking the 'Add section' link. Give the section a name - this will appear at the top of the page as a header to the export options below
- 5
-
Add a field by clicking the 'Add field' link
- 6
-
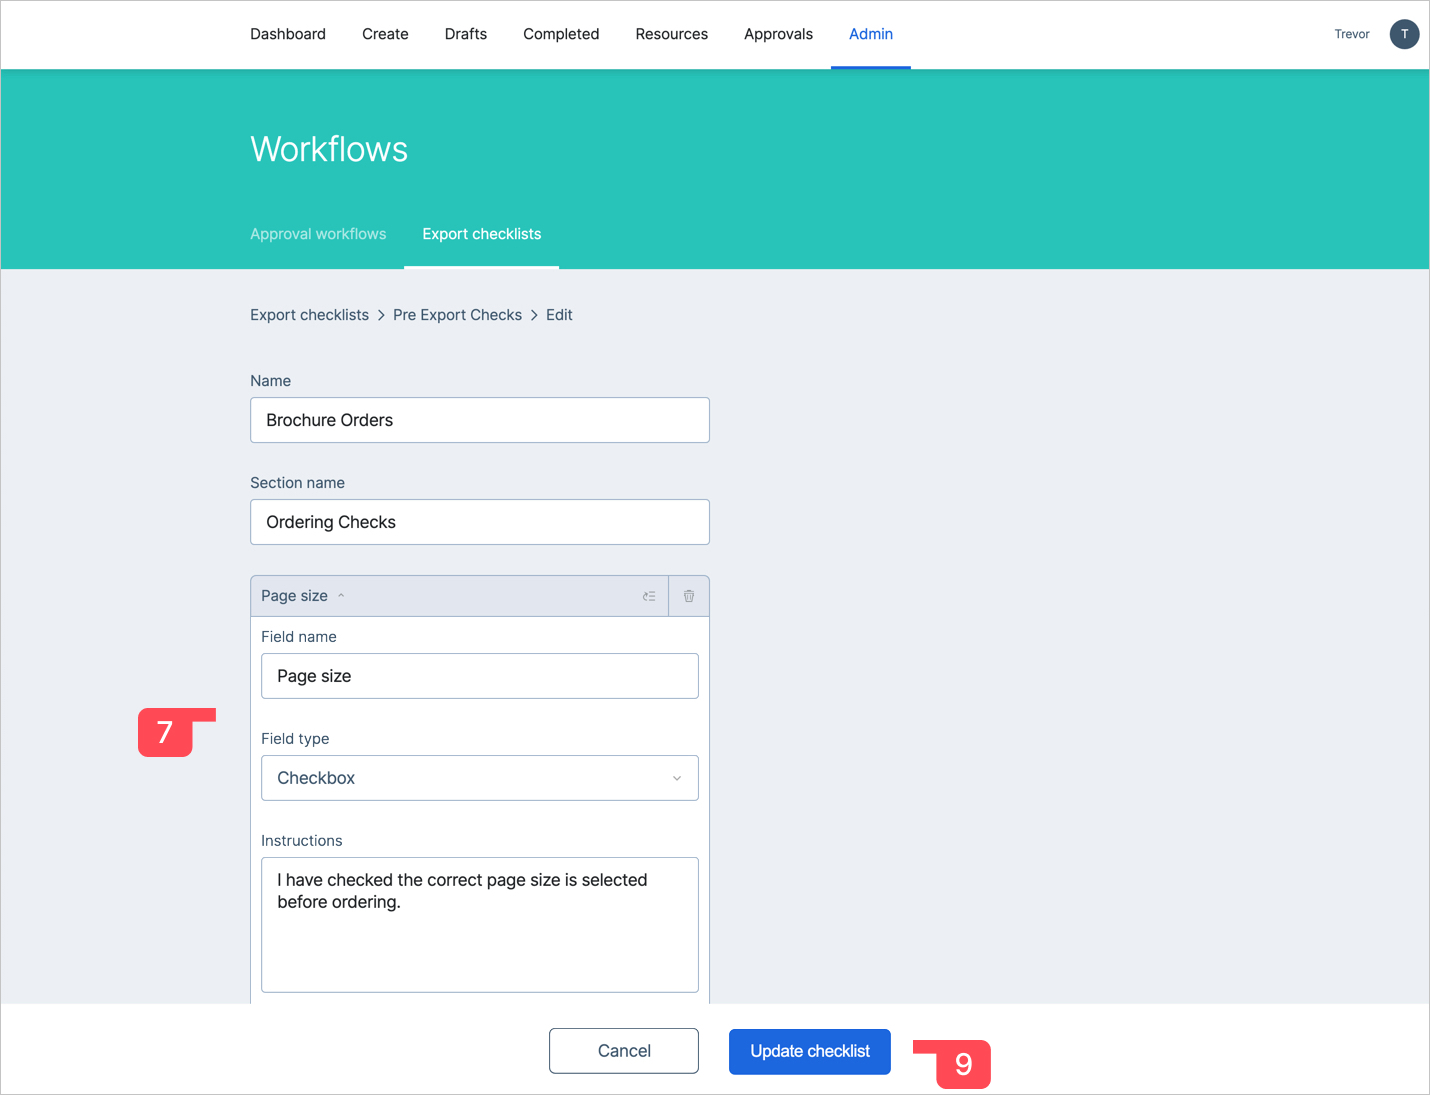
Expand the field module
- 7
-
Fill out the field values. See the Field options explanation below
- 8
-
As required, you can:
- add more fields by repeating from step 5
- add more sections by repeating from step 4 - 9
-
To finish, click the 'Create checklist' button. If you are editing an checklist, you will see an 'Update checklist' button instead.
A section is a ‘page’ of export checks. You can have a number of fields within a single section. Each new section becomes a new ‘page’ of export checks. It is useful to break up or group related checks together if you require a number of themes part of the export process.
Applying an Export checklist to a template
Export checklists are available to apply to any specific export option specified on a template. You can apply them to as many export options that are available or limit them to just one or some of them.
For example, you may only want to apply a checklist to whenever someone orders an artwork. In that case, you will only set one on the orderable option. If you only want to apply them to downloads, you can apply a checklist to all the download options only.
When editing a template’s settings, you will see an option available for each available export option to set an Export checklist. This will be represented by a dropdown menu where you can select the relevant checklist you want to apply to that export.
Editing an Export checklist
From the Export checklists tab under Admin > Workflows, you will be presented with all the available Export checklists. You can click on any one of them to enter the edit screen.
Deleting an Export checklist
Hovering over a checklist on the Export checklists table will display the action menu (3 dots). From here you can select to either Edit or Delete the checklist.
If the Delete option is greyed out, it will be because the checklist is still linked to a template. An Export checklist can only be deleted if it is no longer in use by a template.
To check what templates are using a particular checklist, click Edit and you will see the templates that are associated with the checklist.
Explanation of field options
Field name
This is the name you want to appear as the field label name. It should be short if possible as there is room to add more explanation in the Instructions later.
Field type
This specifies what type of field will appear. There are a number of options to select from…
- Checkbox: A single checkbox requiring either a true or false response
- Dropdown: A dropdown menu with specific options to select from
(will convert content to add dashes between words - for specialist use only) - Dropdown-display: A dropdown menu with specific options to select from
(Use this option for most dropdown menu use cases) - Image: An upload field for image files
- Richtext: A multi-line text field with some formatting options
- Text: A single-line text input field
- Textarea: A multi-line text input field
- Upload: An upload field for a file type
Instructions
Here is where you can add some instruction/description to the field. It is optional and can be left blank if necessary.
Default
This is an optional field where you can specify default text or a default value for a field. In most cases it will be left blank as will want users to enter responses themselves.
It is most useful for text fields where you can type in some text that will appear within the field when a user is presented the export checklist. For example, if a user is to copy and paste specific copy to accompany a social media post.
How to enter defaults:
- Checkbox: enter true if you want the checkbox to be pre-ticked
- Dropdown / Dropdown-display:: enter one of the available values (from Field options) as all lowercase and with dashes instead of spaces. Eg ‘Sample text’ will need to be entered as sample-text
- Image: default not required
- Richtext / Text / Textarea: Enter text as you want it to appear within the text box
- Upload: default not required
Option title (checkbox)
For use only with Checkbox field. This is the option text that will appear next to the checkbox. It is optional and can be left blank.
You may want to use it to reinforce the checkbox selection - for example ‘I agree’, ‘Yes’, ‘Confirmed’ etc.
Required
Check this option if you require the user to respond to this field. When checked, it is not possible to move past this stage without a response. If unchecked, a user can skip this option.
Field options (dropdown)
For use only with the Dropdown or Dropdown-display fields. This is where you type the options that will appear within the dropdown list. Enter each new option as a new line. You can enter as many options as needed.
For example…
Option one
Option two
Option three